
How to Remove a Background From an Image (Without Uploading It)
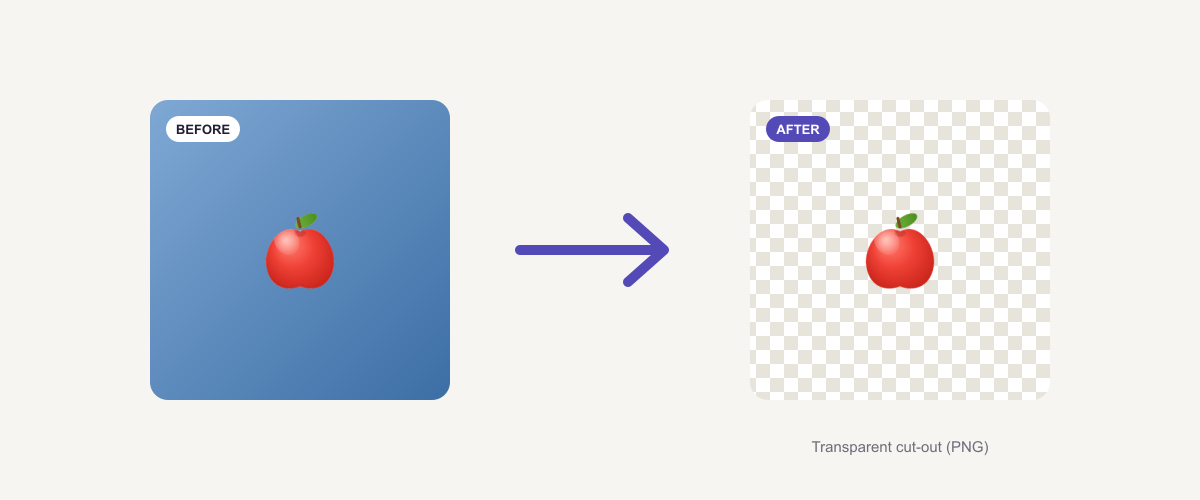
You need a clean cut-out — a product on a transparent background, a headshot for a profile, a logo without its box, a passport photo on plain white. The catch is that nearly every “free” background remover asks you to upload your photo to their server first, and quietly makes you agree to their terms while it’s at it. For a holiday snap that’s no big deal. For an ID, a client’s product, or a child’s photo, it’s worth avoiding entirely.
This guide shows you how to remove an image background without uploading it — a transparent PNG in a few seconds, for free, with no sign-up and no watermark, where the photo never leaves your device. We’ll also cover how to get clean edges (the part most tools get wrong), how to prove to yourself that nothing was uploaded, and what to do with the cut-out once you have it.
The 20-second version: open the background remover, drop in your photo, wait a moment while the in-browser AI cuts out the subject, and download it as a PNG. The PNG is what keeps the background transparent. Everything below explains the details that make the result look professional.
How to remove a background from an image, step by step
The whole process runs in your browser, so there’s no upload and no waiting on a progress bar.
1. Open the tool and add your photo. Head to the background remover and drag your image onto the page, paste it, or click to browse. It takes PNG, JPG, and WebP.
 Drop the photo onto the page — it’s processed on your device, so nothing is sent to a server.
2. Let the AI cut out the subject. The first time you use it, a small AI model downloads to your browser (once), then it finds the main subject and erases everything behind it automatically. There are no brushes to fiddle with.
3. Check the edges. Look closely around hair, fur, and fine detail. On a clean, high-contrast photo the cut-out is usually spot-on; on a busy background you may want to reshoot or touch up (more on that below).
4. Download as a PNG. Export the result and choose PNG so the removed background stays transparent. This is the step people get wrong — save as JPG and the transparency turns into a solid white box.
That’s it. On a typical photo it takes a few seconds, and there’s no limit on how many images you can do.
The privacy problem with most background removers
Here’s what the big-name tools don’t put front and centre. When you use a typical online remover — or a “free” feature inside a large design app — you’re doing three things at once:
- Uploading your photo to a server you don’t control.
- Agreeing to terms of use and a privacy policy (some tools literally gate the upload behind an “I agree” — Adobe’s remover, for example, asks you to confirm you accept its terms and are over 18 by uploading).
- Trusting a “we’ll delete it later” promise — which rarely specifies when, whether copies sit in backups and logs, or whether your image can be used to train their models.
For most photos, fine. But if you’re cutting out a passport or ID photo, an unreleased product, a client’s confidential design, or a picture of a child, handing that file to a third-party server is exactly the risk you’d want to avoid.
The alternative is to never upload at all. Toolsbeaver’s background remover runs the AI on your device, inside the browser — your photo is never transmitted, so there’s nothing for anyone to store, log, leak, or train on.
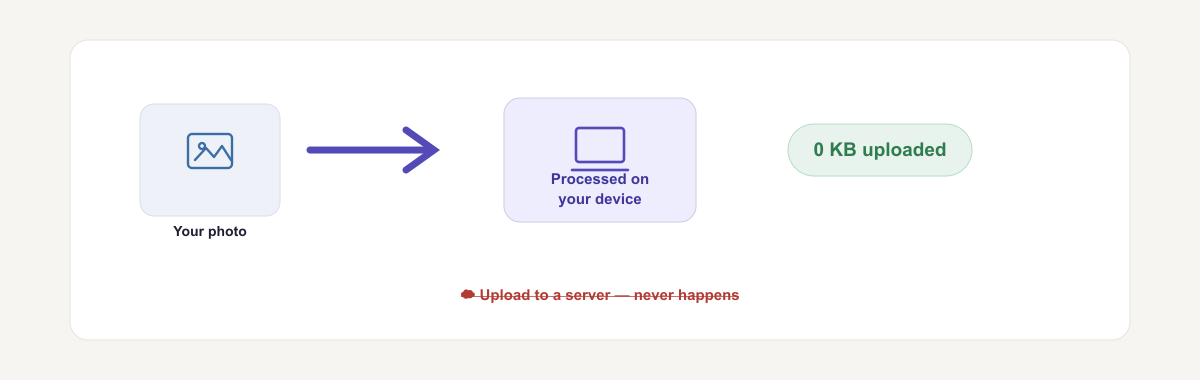 Because the work happens locally, nothing is uploaded — you can watch the network stay silent while the background is removed.
And you don’t have to take that on faith. You can verify it yourself: open your browser’s developer tools (F12), switch to the Network tab, and remove a background — you’ll see zero bytes uploaded. As a bonus, because there’s no server round-trip, the tool keeps working even with your Wi-Fi switched off.
How in-browser background removal actually works
For years, removing a background well needed either Photoshop skills or a server with a big GPU — which is why online tools uploaded your image: the heavy lifting happened in their data centre. That’s changed. Modern browsers can run compact AI models directly, using WebAssembly and your device’s own hardware.
So when you drop a photo into an in-browser remover, a small segmentation model (downloaded once and cached) runs locally, works out which pixels are “subject” and which are “background,” and erases the background into a transparent alpha channel. The result is the same kind of cut-out a cloud tool produces — without your file ever leaving your device. The only trade-off is that the first run downloads the model, so it takes a few seconds longer that one time; after that it’s instant and offline-capable.
How to get clean edges (hair, fur, and fine detail)
The subject matters less than the contrast between it and the background. A few things make a big difference:
- Start from the highest-resolution photo you have. More detail gives the model more to work with; a tiny, blurry image produces a rough, jagged edge no matter which tool you use.
- Favour a plain, contrasting background. A person in a dark top against a pale wall cuts out beautifully. The same person against a cluttered bookshelf is much harder.
- Fine hair and fur are the hard case for every tool — cloud or local. Wispy strands against a busy background will never be perfect. If edge quality is critical, reshoot against a plain backdrop.
- A faint outline or “halo” usually means the original subject and background were similar colours. Better contrast in the source photo fixes it far more reliably than any post-processing.
If you only need the subject roughly separated — for a sticker, a collage, a quick avatar — the automatic result is almost always good enough as-is.
Save it right: use a transparent PNG
The single most important export choice is the file format, and it’s the same rule as any transparent graphic:
- PNG stores transparency, so your removed background stays see-through and the cut-out drops cleanly onto any colour. This is what you want almost every time.
- JPG cannot store transparency. Save a cut-out as JPG and the transparent area fills with solid white — giving you back the very box you just removed.
So: export PNG. If the resulting file is large (transparent PNGs of detailed photos can be heavy), run it through an image compressor to shrink it with no visible quality loss before you upload it as an avatar or attach it to an email.
What to do after you remove the background
A transparent cut-out is a starting point. Common next steps:
- Put it on a new background. Drop the PNG over any solid colour or a different photo in an editor — because it’s transparent, it composites cleanly.
- Crop it to a circle for a profile picture or logo, with the circle crop tool — a transparent subject plus a circular crop gives you a perfect round avatar. (Here’s the full guide to cropping a photo into a circle.)
- Make a compliant passport photo — remove the background, then use the passport photo maker to place the subject on regulation white at the right dimensions.
- Shrink the file with the image compressor so it’s light enough to upload anywhere.
Removing a background on your phone
You don’t need an app. The background remover works in your mobile browser — Chrome, Safari, or Edge — with no install, no account, and no watermark stamped across your result. Add your photo the same way you would on desktop (tap to browse or paste), let it process, and download the PNG straight to your phone. Because it runs on-device, your photo isn’t uploaded from your phone either.
Troubleshooting
My cut-out has white or jagged edges. The source was low-resolution or low-contrast. Start from a sharper photo with the subject clearly separated from the background.
It saved with a white background instead of transparent. You exported a JPG. Re-export as PNG — only PNG keeps transparency.
It removed the wrong part of the image. The tool targets the main subject; if your photo has several competing subjects, crop to the one you want first (with the image cropper) and then remove the background.
The file is too big to upload as an avatar. Transparent PNGs can be chunky — run it through the image compressor to shrink it without a visible quality drop.
Nothing happened / it seems stuck. The first run downloads the AI model once; on a slow connection that can take a few seconds before anything appears. After that it’s cached and instant.
Remove your background now — privately
You don’t need Photoshop, an account, or an upload to get a clean transparent cut-out. Open the free background remover, drop in your photo, let the in-browser AI do the work, and download a PNG. It’s private by design, unlimited, and takes seconds.
Next steps: crop your cut-out to a circle for a profile picture, make a passport photo, or explore the full set of image tools.
Frequently asked questions
How do I remove the background from an image for free?
Open the background remover, drop in your photo, let the in-browser AI cut out the subject, and download it as a transparent PNG. It's free, with no sign-up and no watermark.
Can I remove a background without uploading my photo?
Yes. This tool runs entirely in your browser using your device's own processing, so your image is never uploaded to a server — ideal for ID photos, product shots, or anything private.
How do I get a transparent background?
Export the result as a PNG. PNG supports transparency, so the removed background becomes see-through. JPG cannot store transparency and will fill it with white.
Why does my cut-out have a white or rough edge?
Usually the original had low contrast between the subject and background, or was low resolution. Start from the highest-quality photo you have, with the subject clearly separated from the background.
Does it work with hair or fur?
Modern in-browser models handle most hair and fur well, but very fine, wispy strands against a busy background are the hardest case for any tool. A clean, high-contrast background gives the best edges.
Can I remove a background on my phone?
Yes — the tool works in your mobile browser with no app to install and no watermark. Just open the page and add your photo.
Is there a limit on how many images I can do?
No. There's no daily cap, no watermark, and no sign-up — remove as many backgrounds as you like.
How do I replace the background with a new colour or image?
Remove the background to get a transparent PNG, then place it over any solid colour or new photo in an editor. Because the cut-out is transparent, it drops cleanly onto any backdrop.
Will removing the background reduce my image quality?
No — the subject keeps its original detail. Only the background is removed. Saving as PNG is lossless, so the cut-out stays crisp.
How can I be sure my photo isn't uploaded?
Open your browser's developer tools, switch to the Network tab, and remove a background — you'll see zero bytes leave your device. The tool even keeps working with your Wi-Fi turned off.